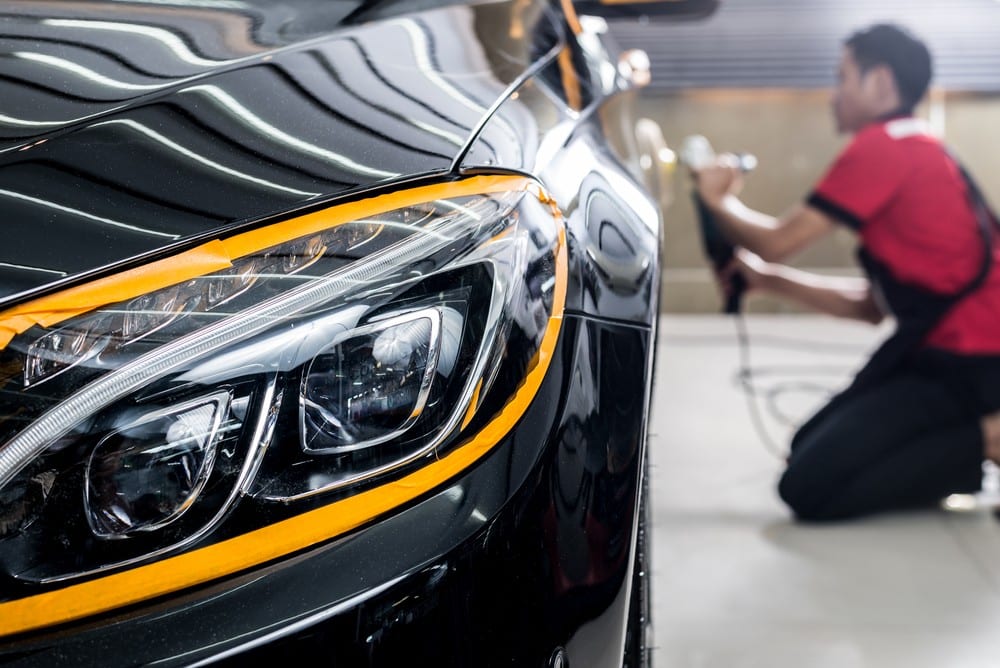
Car Light Maintenance Tips and Tricks
Have you ever experienced driving in heavy rain? Or late at night? If you have, you would be very grateful for having working car lights. Because whenever a car in front of you slows down, you become well aware of their next step because of the brake lights. So, it is necessary that the lights should be in good and working condition, and function correctly.
Why Is It So Important?
The lights play a vital role in your vehicle. Automobile headlights Restoration is used to determine what is ahead of you and helps in communicating with other road users. It is also used to tell others what we are about to do? Like if we are stopping the car, turning or reversing it, or if it is broken down.
Checking the car headlights is as important as checking your car tire wear and pressure.
One of the important things which save you from an accident when driving at night or in bad weather is your car lights. If the car headlights become poor, discolored, and foggy, you increase the chance of your accident. This is because it would be unsightly to see what’s ahead of you.
All of the lights need proper periodic maintenance. When it comes to the maintenance of the car we take it to the nearby garage or workshop and it costs us a lot. DIY headlight restoration is an effective restoration service method. It provides a cheap service and saves us from visiting the garage.
If you don’t know how to apply it, then read on. In this blog, we have shared some simple steps that you can do at home in order to get your headlights in working condition again.

Tools Required for Car Light Maintenance
- Microfiber towel.
- Bucket of clean water.
- Latex gloves.
- Masking tape.
- Wet and Dry sandpaper.
- Plastic polish.
- Polish pad.
DIY Car Headlight Restoration Method
Wash and Sand the Foggy Headlights for Restoration
Before beginning with the headlight maintenance, make sure that the headlights are clean. If it is not, then wash them during a full car wash or either clean the cloudy headlight with warm soapy water separately for restoration. Wash it with plenty of water, then let it dry. If you are going to apply sand, use painter’s masking tape instead of duct tape. Mask the area around the headlight; it will protect your car’s paint from scratch.
While you sand, spray the headlights with water and keep them wet. Dip the sandpaper sheets in water, and then start with the grit that suits your situation. For scratched or foggy headlights, start using grit sandpaper in one direction with 600 grit, then progress to 1200, and at last 2000 grit.
Use a lot of paper to keep the sandpaper clean. Keep sanding the headlights until the surface becomes perfectly smooth. After finishing it, spray once again with clean water, then wipe the surface with a microfiber towel.
Cleaning Car Headlight with Polish
Wash the headlight lens with clean cool water and then dry it. Wet one corner of the pad with several dabs of polishing compound. Begin polishing the lens in a circular pattern with firm pressure. As the polish begins to dissipate, don’t stop polishing instead add a little more compound and continue polishing until the headlights become smooth and clear.
Rinse and Dry the Polish
When you are done polishing the headlight, allow the polish to dry. After that use the clean and soft cloth to buff off any remaining polish residue. If there is serious damage to the headlamp then repeat the polishing process. Try repolishing only those areas with a polishing compound that are still foggy. Buff the headlight again, and inspect whether the lens looks perfectly clear or not. Some main points to keep in mind during car headlight repairing is:
- In order to keep foggy headlights clear, wash them with a mild detergent and a soft sponge. Clean it with plenty of water and then dry.
- Never ever clean clear plastic with wax, polish, or any other chemical that is not formulated for the task.

Final Thoughts
All these steps are defined by experienced working specialists in Pitstop Arabia. These steps should only take around 45 minutes. At first, it may take a longer time to do the job but just, like everything, the more you do it, the easier it will become. Headlight lens restorer should be performed after every two weeks, or as every week gets closer to wintertime.
By following the above-mentioned maintenance steps, you are protecting yourself, and other road users from severe accidents. You will also get saved from fines for having a bulb that’s not working.


